How to use mockups
Once you purchase your mockup, you will receive a link to download your PSD mockup file on the checkout page, as well as in a email.
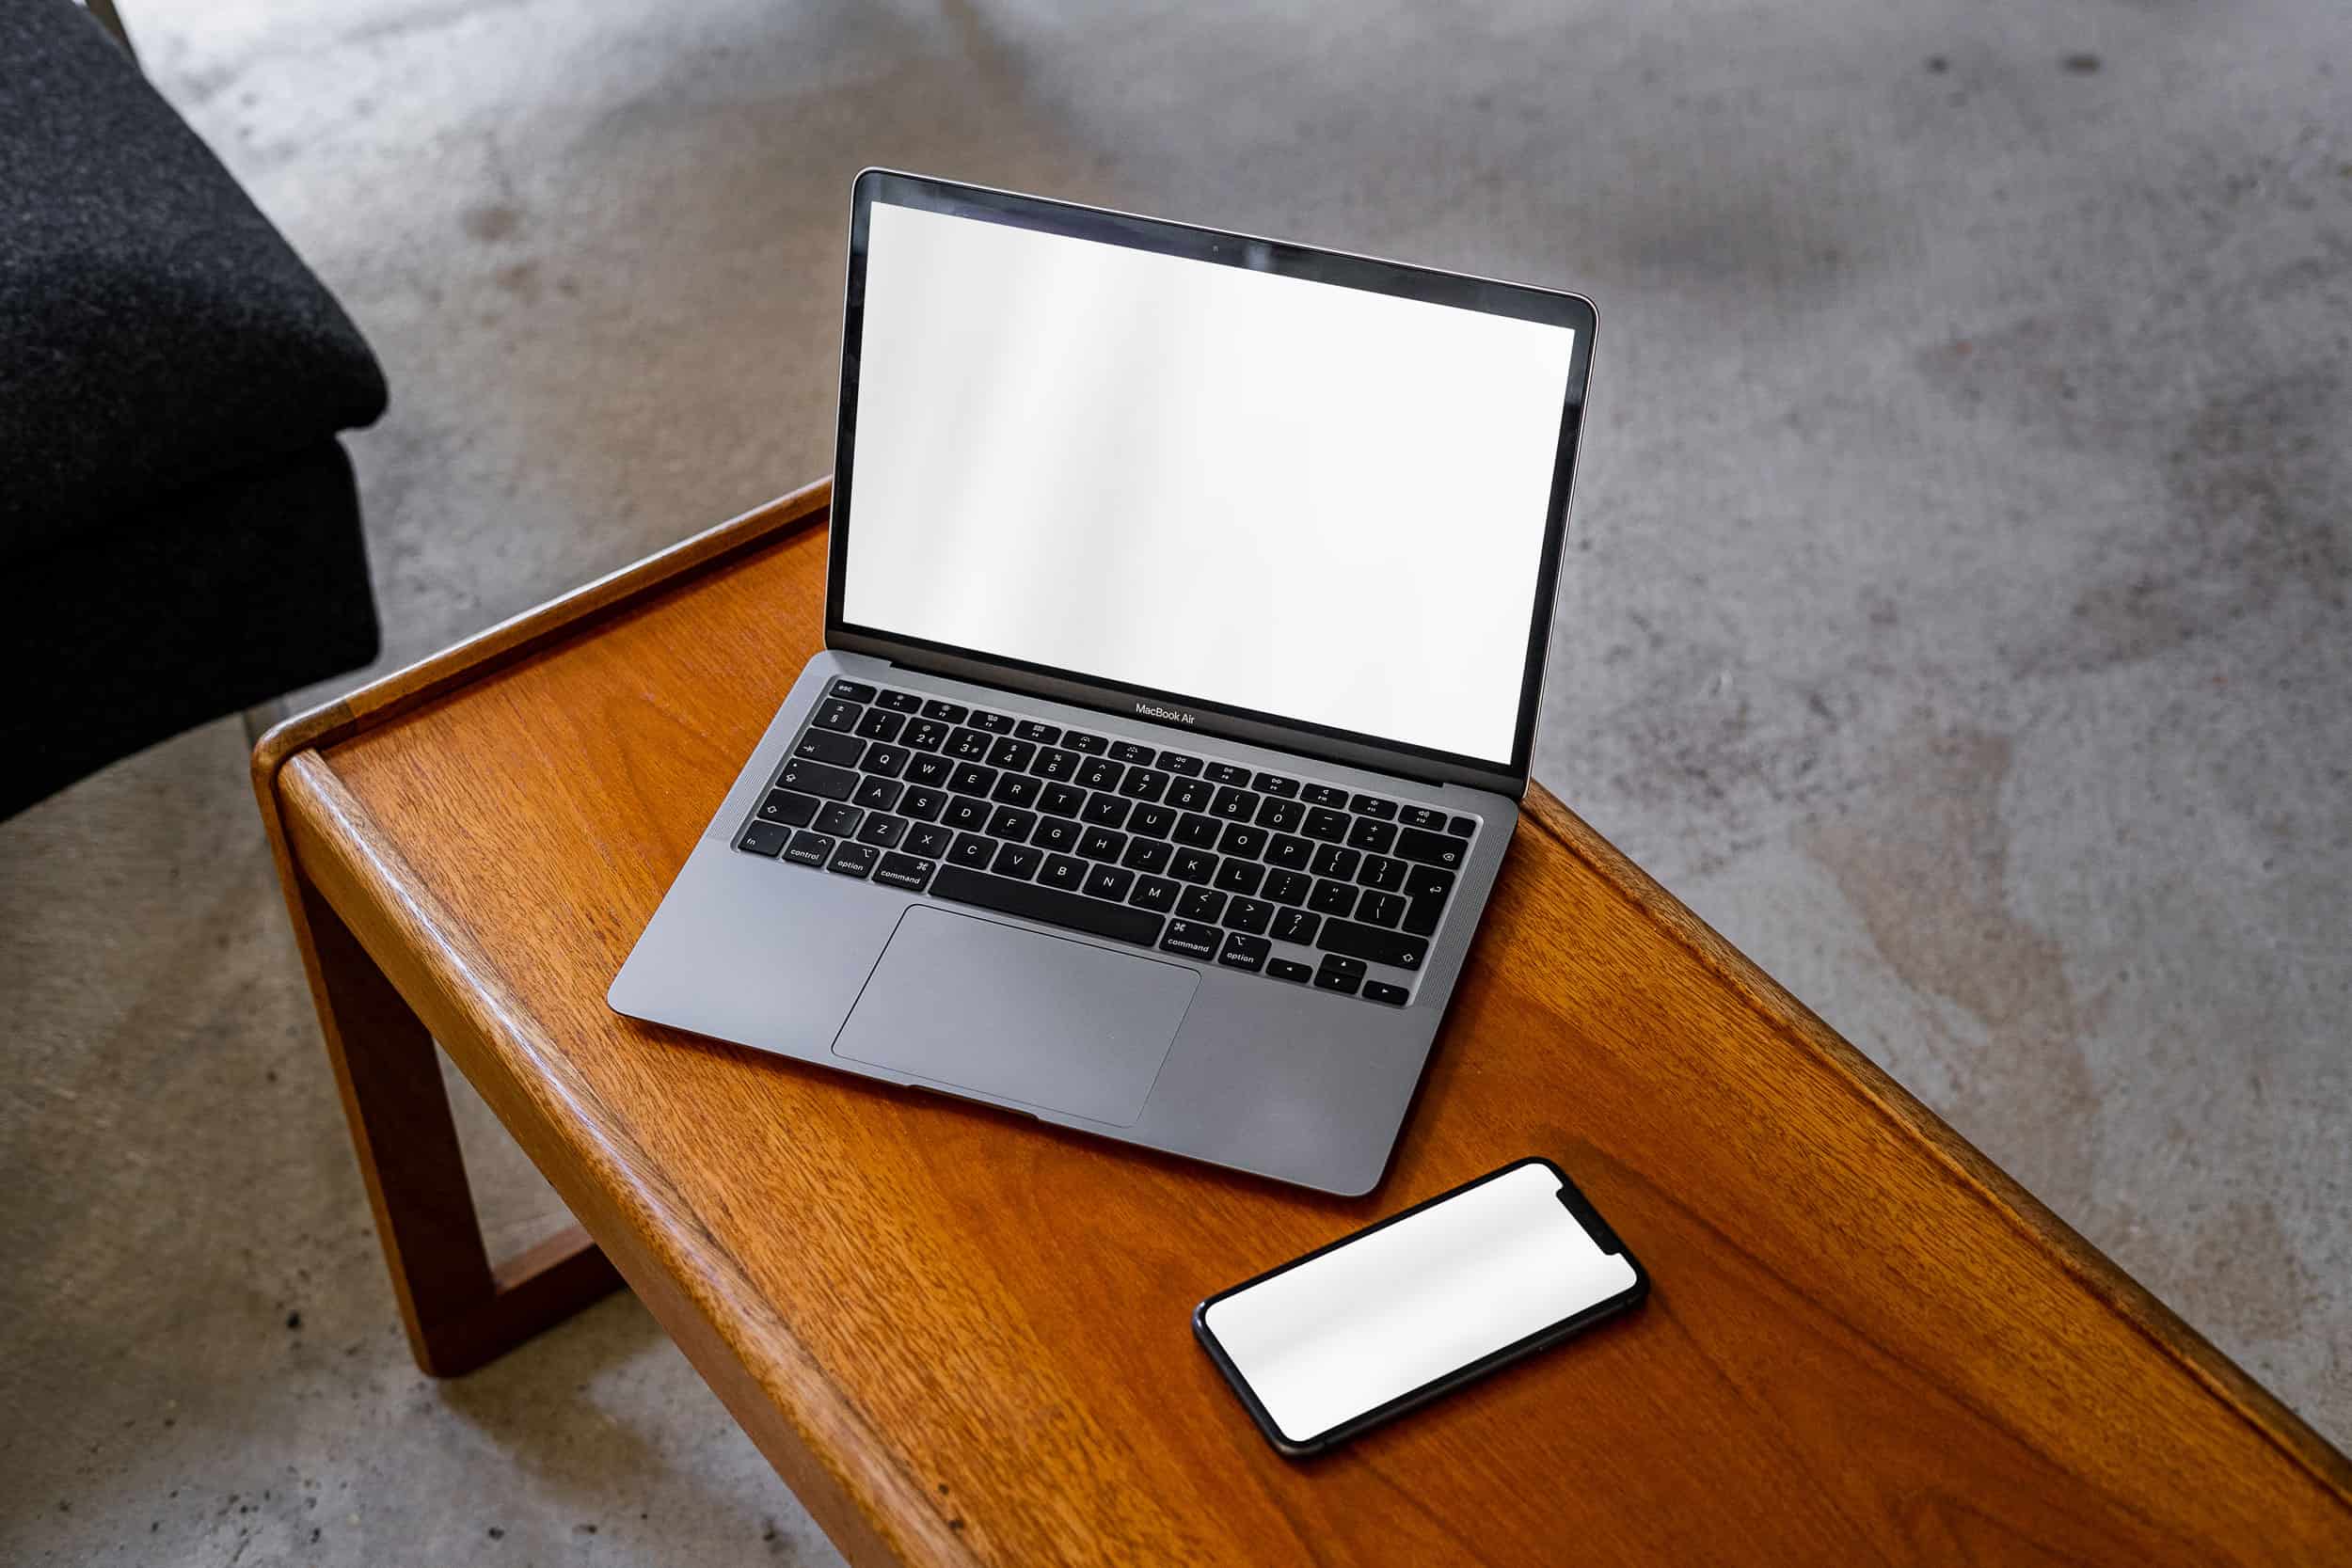
Before
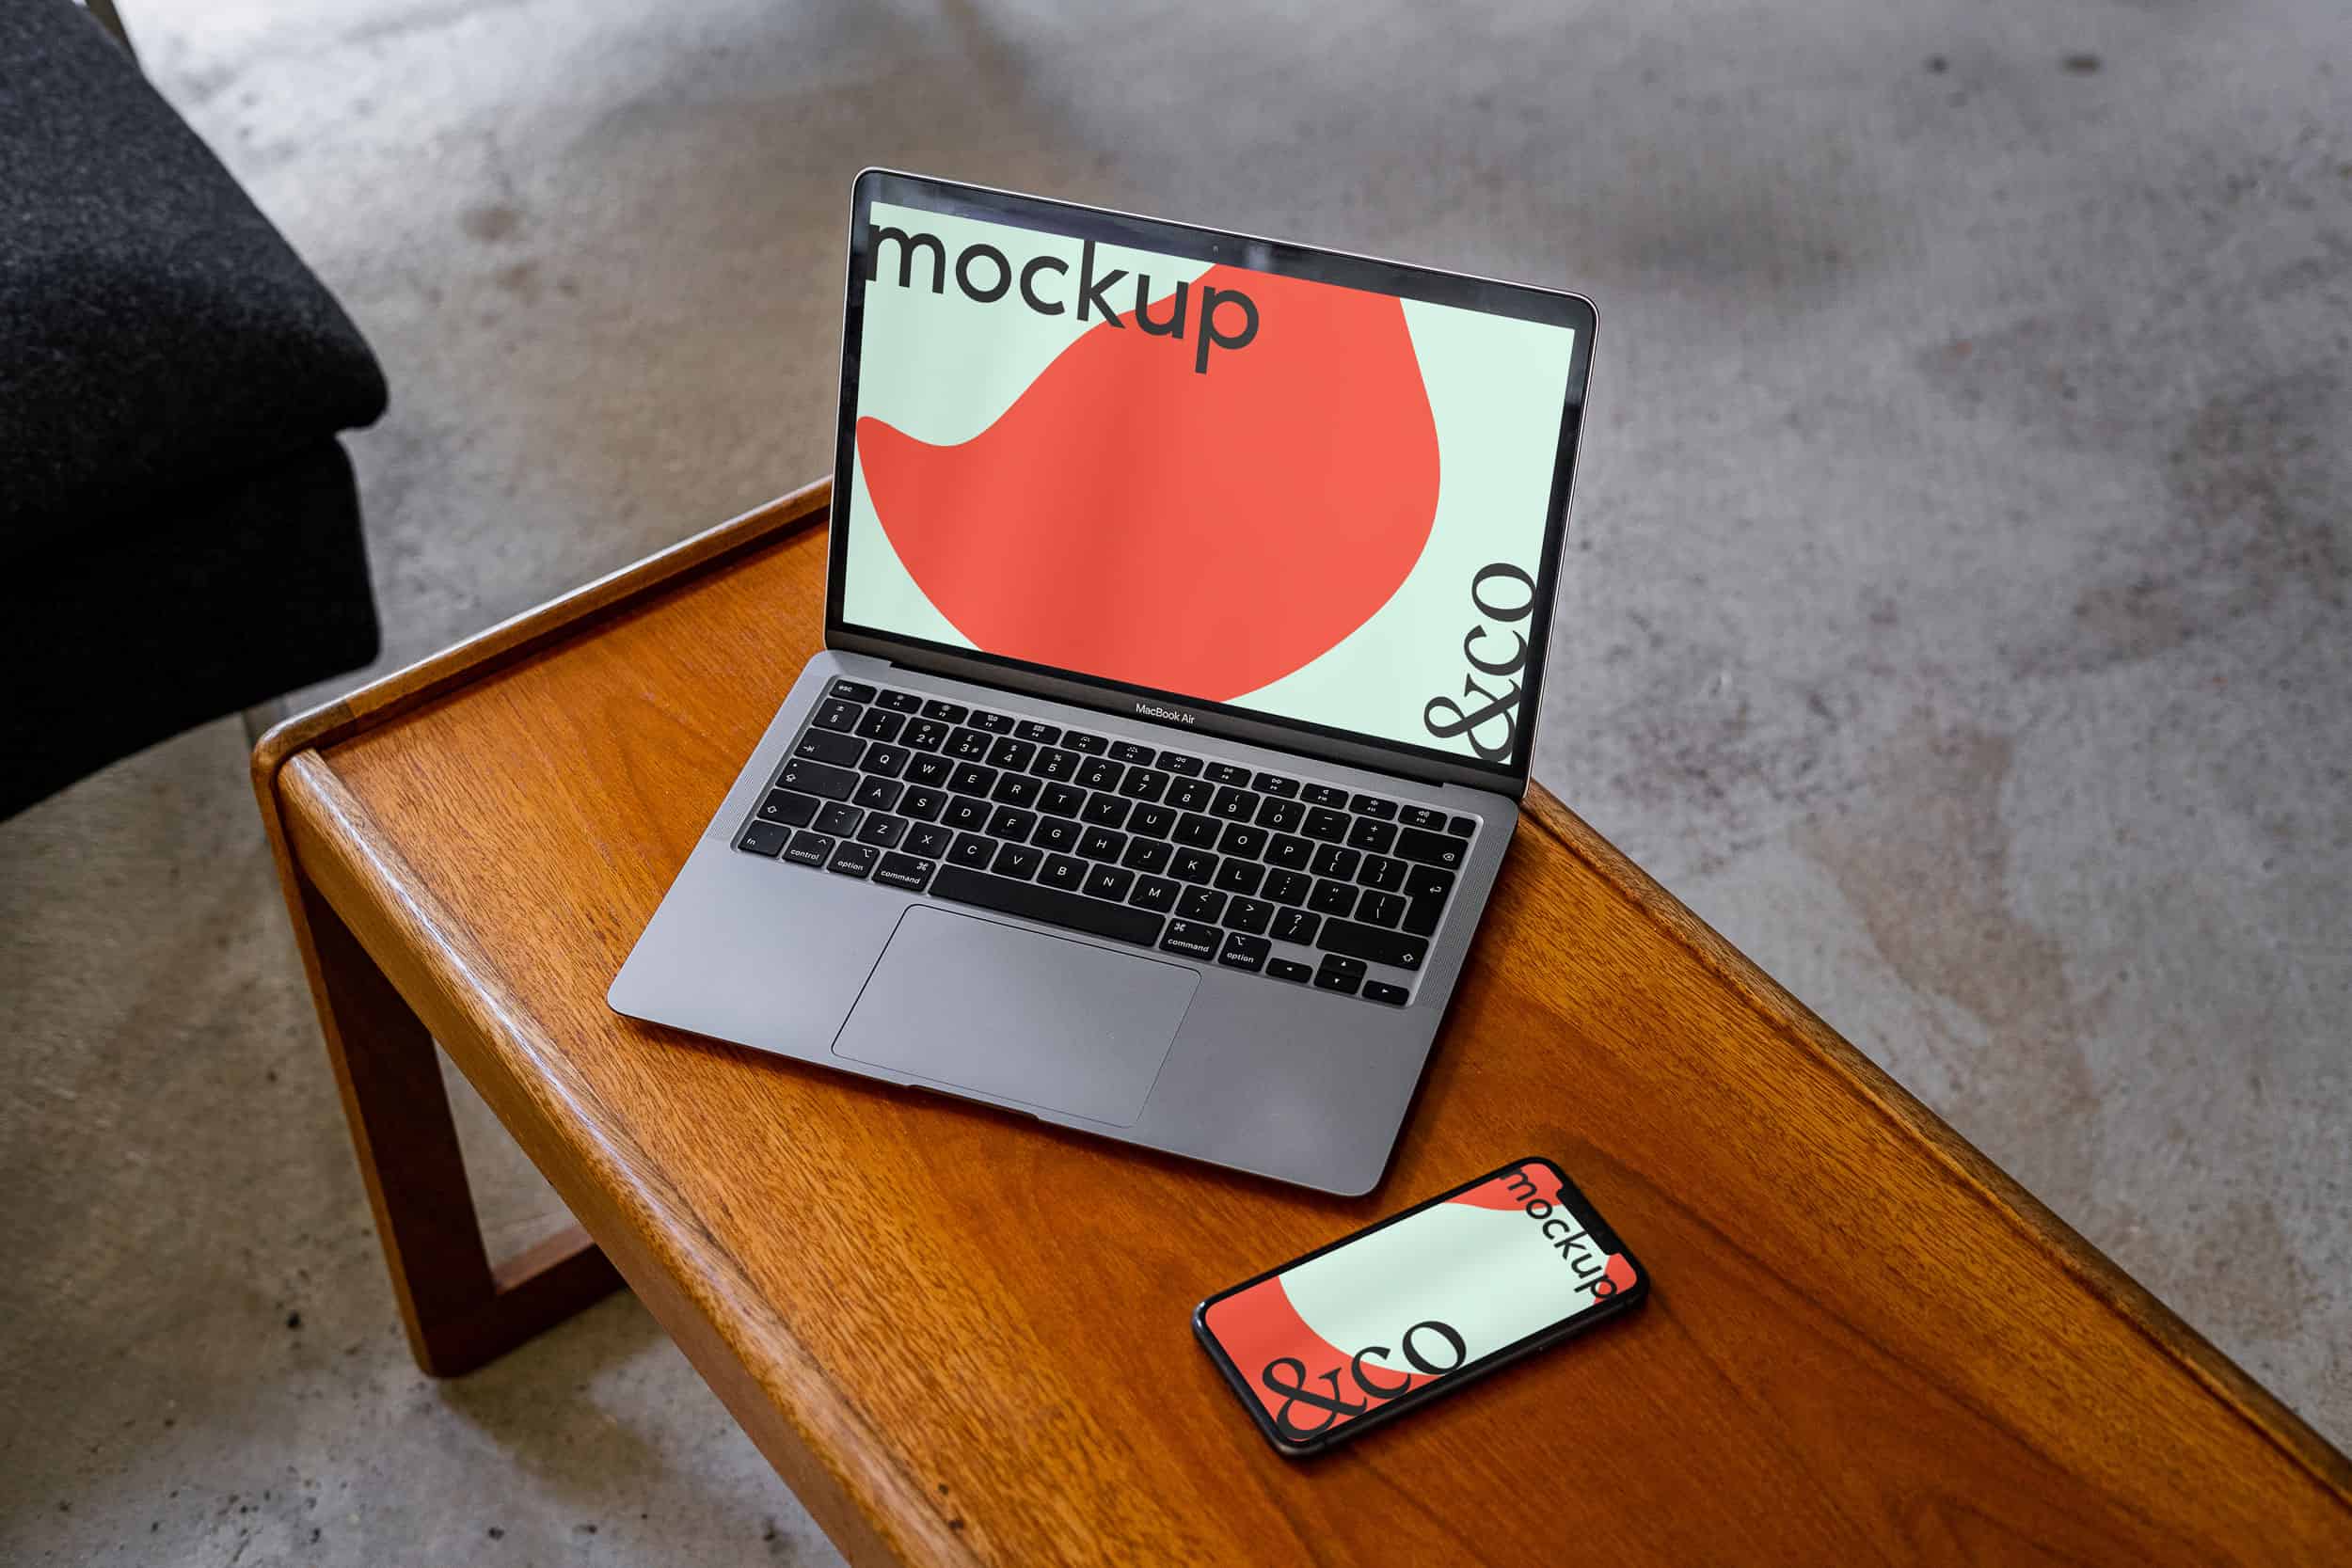
After
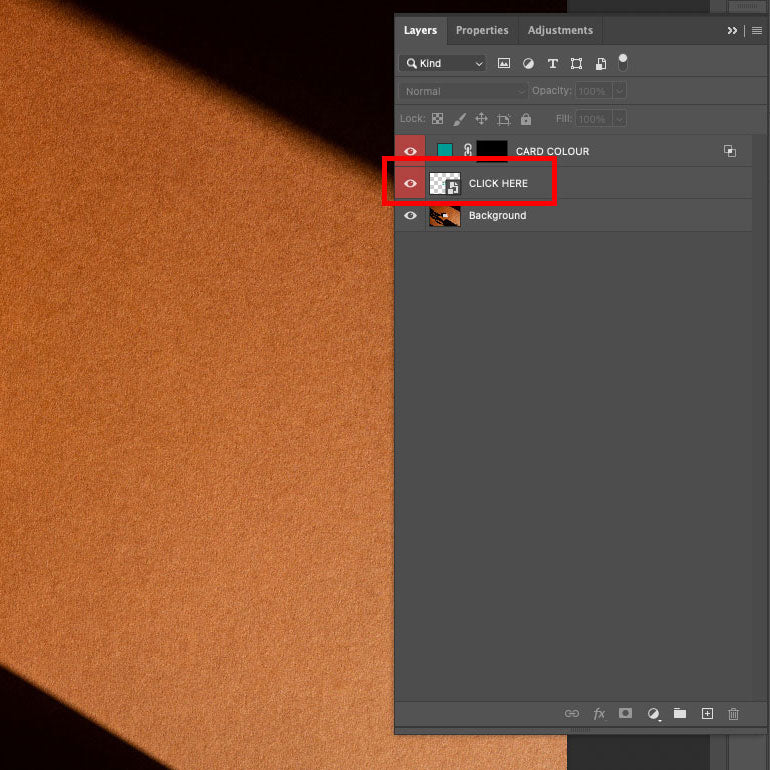
To add your design simply double click the ‘Click Here’ layer image, this will open the smart object in a new file window.
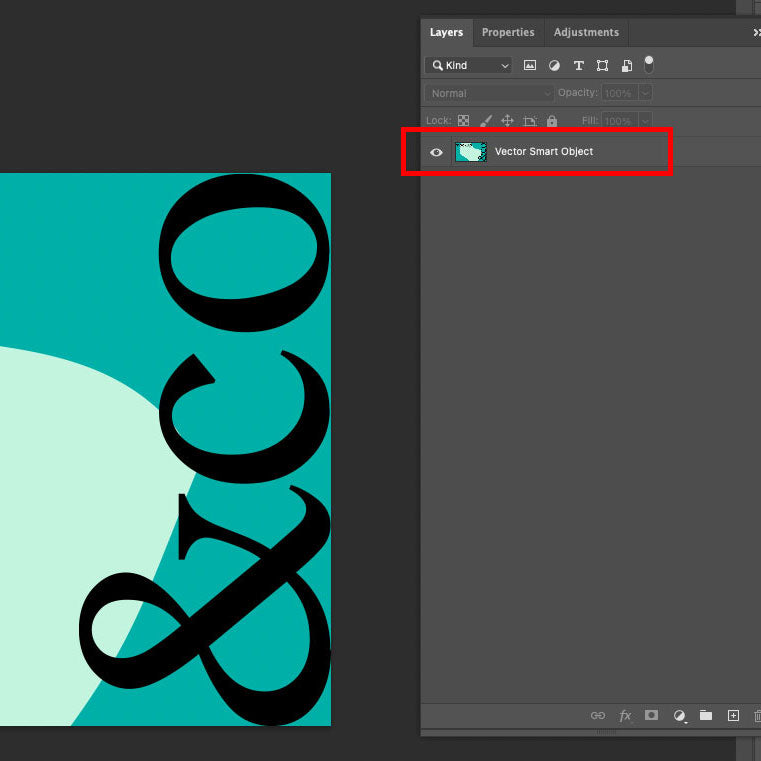
Once you’ve accessed the Smart Object you can place your creative by either dragging and dropping from your Finder (MAC) or File Explorer (Windows), alternatively you can click Photoshop’s top tab > ‘file’ > ‘Place Linked File’.
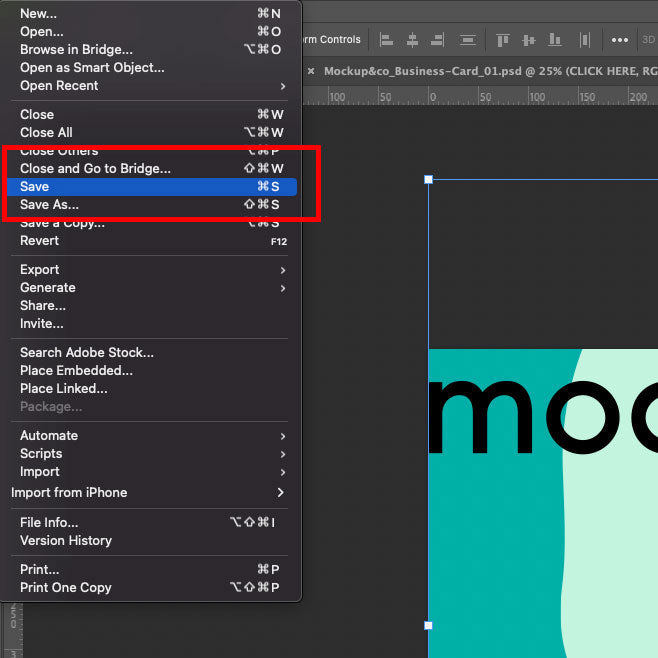
Save the Smart Object and your design will then appear on the mockup file.
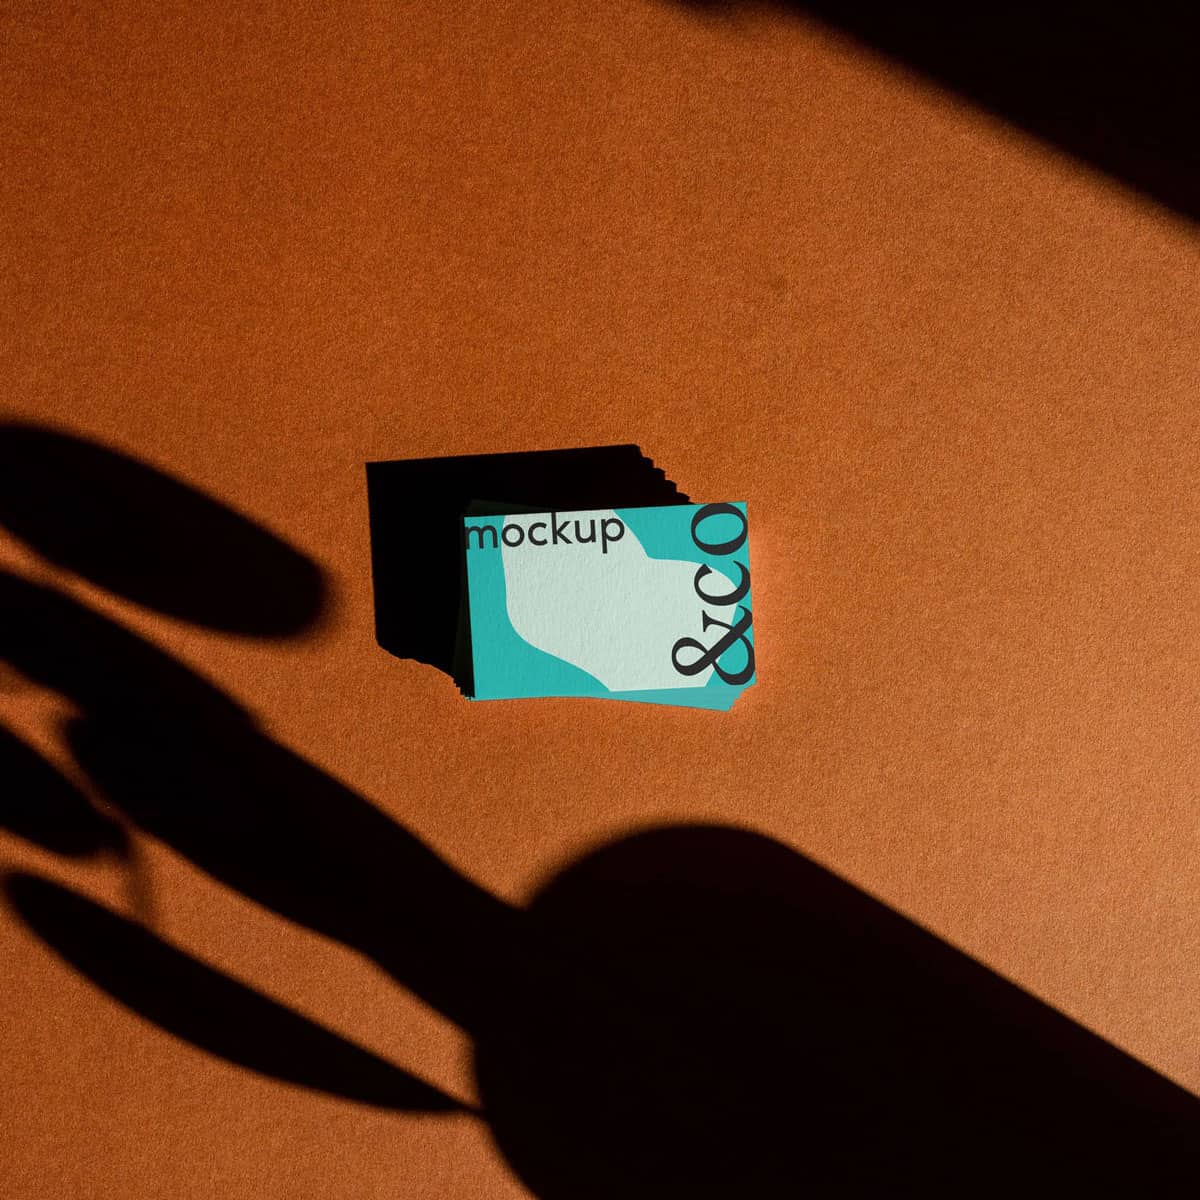
Experiment with the overlays, levels and opacities to get your desired look!
To add your design simply double click the ‘Click Here’ layer image, this will open the smart object in a new file window.
Once you’ve accessed the Smart Object you can place your creative by either dragging and dropping from your Finder (MAC) or File Explorer (Windows), alternatively you can click Photoshop’s top tab > ‘file’ > ‘Place Linked File’.
Save the Smart Object and your design will then appear on the mockup file.
Experiment with the overlays, levels and opacities to get your desired look!


FAQs
What are mockups?
A mockup is used to show designs in all its glory, showcasing how the finished product will look. Mockups are useful for presentations, portfolios and projects.
What software do I need to use a mockup?
For the best results, make sure you use the latest version of Adobe Photoshop.
Do you offer refunds?
We cannot offer refunds unless there is a problem with the product itself. Our mockups are produced at the highest standard, however if you ever experience problems, please get in touch.
Do I have to credit Mockup&Co when posting online?
No, you don’t, but we always appreciate being tagged. Our Instagram can be found here.
How to create mockups with psd
Need custom PSD mockups? Head over to our bespoke mockup page.
How to use mockups in your portfolio?
All our mockups a licensed to be used within portfolios. Take a look at our instagram to see some of our mockups in use for inspiration.
